
It all begins with a new (rental) house and a phone call to my cousin, Amber!
I moved into a new place last September. Like any place it has both good and bad points. A few of the good things: hardwood floors throughout, an amazing doorway into the dining room (complete with built-in shelving) and a wonderful old farmhouse sink in the kitchen. A few of the downs? The hardwood floors have been painted black (this is an up and down . . . the upside is that the floor is wearing and gives it a beautifully distressed look, and the downside is that all that black paint flecks off and gets everywhere!!!!), the kitchen floor has worn Linoleum over the beautiful wood floor, and the metal cabinets below the amazing farmhouse sink have been painted, which wouldn't be so bad, but there are some rust spots and they would be so beautiful restored!
At any rate, I talked to my cousin about how best to clean the sink and the painted metal cabinets to get them clean without destroying them completely and she suggested painting them with chalk paint and waxing them! She raved about the wonders of chalk paint: No sanding, no priming, just clean well and paint to your heart's content! She then mentioned the hook: She had seen recipes where you could make your own! Yep. This DIY's heart melted!
I did not, however, realize just how many recipes there were, or how many resources I would have to flip through to try to find what would work for me. That is why I am writing this. Maybe, just maybe, it will find it's way to someone and help them get started without the hours, and hours and hours, of searching the www! So, first things first: How to make chalk paint!
Chalk paint can be made in a ton of different ways and there are a gazillion and one recipes out there. To make it simple: You need paint (any kind, technically, but flat or satin works best and Valspar and paint-and-primer in one both have had some issues when being "chalked"), water, and a "chalking" agent. Some common items used are:
Baking Soda
Plaster of Paris
Non-sanded Grout
Diatomaceous Earth
Calcium Carbonate
If you want to know, right away, what the best one is? I found a blog on that!
Diane over at in my own style found that, by mixing Plaster of Paris and Calcium Carbonate, you can achieve an amazing outcome that is very comparable to the commercial chalk-paints you can buy!
You can read about it, here!
http://inmyownstyle.com/2013/09/furniture-makeover-mixing-diy-chalk-paint-recipes-colors.html
I, however, do not use that one at the moment. Calcium Carbonate is hard to find in my area, so I have been using plain ole Plaster of Paris, and it works pretty well. When it comes to chalk paint, Diane's site has become my go-to information station. I use her recipe for the paint I use now. It is as follows:
3 parts paint
1 part Plaster of Paris
water
Now . . . I get a little nervous when I read a recipe that doesn't have an amount listed for a particular item. In this recipe it is the water, and there is a good reason! You have some steps to take when making chalk paint.
First, you need to find your paint. This is pretty important, because no matter what recipe you use, in the end, you are going to need paint to add it to! I tend to use "oops" paint. It is cheap, which I love, you can find it in a wide variety of colors, if you shop around, and did I mention cheap? The problem with this way of shopping, though, is that you have to be careful to watch for a couple of things: 1) chalk paint is supposed to be flat. If you are buying a high-gloss paint your end-result will be fairly shiny. You may not want that. Flat works the best, and Satin is really good as well. Anything else will work, but expect different results! Valspar and paint-and-primer in one tend to clump, curdle, or harden quickly when certain types of "chalks" are added to them. With that said, though, I have a beautiful sunshine yellow "oops" in Valspar that I use regularly with Plaster of Paris and the only time I really had problems was when I mixed some red in with it to make a hot pink. Even then, though, it was useable . . . I just had to keep adding water (which is sometimes the case with all homemade chalk paints... if they start getting too thick just add some water and stir well). Some people have had real issues, though, so it is best to use your own best judgement there!
Second, pick your "chalk". As I said, I use Plaster of Paris. It is cheap, easy to work with, a little goes a long way, and it's easy to find. I plan, though, to get some Calcium Carbonate in the future and use the mix mentioned above to see how it compares! Each recipe will call for a different amount. There is no one right answer. Trial and error will get you everywhere with homemade chalk paint! My suggestion: Get some old scrap wood and mix up a couple of different small test batches. Paint the wood, find the one you love! Simple.
Third, you need water. There really aren't a lot of suggested amounts in the varying recipes, and this is a good thing. If you are using a recipe that calls for a particular amount you may be having trouble. The reason is this: you need just enough water. Sounds funny, but it's true. When making chalk paint, I have found it best to mix my "chalk" and my water first. I use a set amount of both paint and "chalk" depending on what I am painting. You need to mix up enough to cover what you are painting, and yet not so much that you are left with a bunch extra. Most of my items have been able to be painted with 1-2 cups of paint (not counting the other ingredients). So: I determine how much paint I think I will need and then figure just how much "chalk" (plaster of paris, in my case) I will need and put that in a bowl. I recommend a glass or plastic smooth-bottom bowl for ease of mixing. Put your powder in the bowl, and add just enough water to mix it in. You want the mix to be very smooth and very lump free and just liquid enough to pour easily into the paint mixture. You can compare the mix to thin pancake batter and that should be about right! I mix with a whisk first, to get the mixture started, and then use a rubber spatula to continue mixing to make sure that I remove all lumps and get the mixture good and smooth. I then measure out my paint into a plastic or glass re-sealable container. I have used: Old plastic coffee cans with lids (work very well), plastic take-and-go containers (glad brand or whatever you have), and old pickle jars and etc . . . they are all (so far) easily cleaned after use to be able to re-use. After measuring the paint, I pour the chalk mix into the paint and stir again using the same method. I whisk first, then use a rubber spatula to make sure I have it all stirred well. It should be very smooth and not lumpy at all when you are done. If you have a paint stirrer (one that hooks into an electric drill or screwdriver) I would advise using that, and a mixer can work very well too if you don't mind the occasional paint-splatter on it! I just wouldn't use anything you would be sad to see ruined, just in case, and make sure and wash well when done with it!
**** Note: do not pour the paint or the chalk mix down your sink. It could harden and block your pipes!!!****
Then . . . the hard part is done. On to painting!
| 
|
If your mixture is grainy when you paint (I often find this to be the case), I have a few tricks to help you out!
1) make sure you have the paint mixed very well. You don't want clumps in your paint. When you go to sand it later you will be left with white speckles all over everything, so make sure you are mixing very well! Even with great mixing I am often left with little sand-like particles. See the next steps for my removal tricks:
2) Sandpaper. Use a fine grit (200 or so) and just rub lightly over the surface. This will remove the gritty feel and leave you a beautiful surface to work with. It does take time and patience, so be prepared for that.
3) Damp scrubby sponge. I do not mean wet!!! Take a kitchen sponge, get it wet, and then squeeze the crud out of it!!! Make sure it is barely wet at all, and then lightly scrub the surface of your paint with the scrubby side. I use the blue sponges for this (the non-scratch ones). I LOVE the way this makes the piece look in the end. It is very smooth and has a beautiful finish, but be warned: You must be careful using this method. If you get the paint too wet it gets sticky and can peel off! Also: this is a method used to distress furniture. If you don't want to distress it be very careful not to push too hard. You only want to rub hard enough to keep the sponge moving. If you do push a little too hard don't fret. Let the paint dry again completely, sand a tiny bit with fine grit paper and re-paint.
Just remember: you can do this. I advise practicing first on scrap wood. It lets you perfect your technique and get used to using your homemade chalk paint. It also gives you a medium to practice your distressing without the worry of having to over-work your intended project!
To distress there are a lot of options: You can use sandpaper, a damp rag or sponge, steel wool, or pretty much anything you want to get the look you are going for. Be creative and don't be afraid to try new things.
The last thing I will cover today is finishing your piece. This is very important. You need to protect your surface. If you are going to spend the time painting and making something look nice you want it to stay that way, right? You have a few options: You can Polyeurathane. I don't care for this option. I don't like the shine on the finish, I don't like the smell, and I don't like the price. You can use it though, and, as much as I hate to say so, I recommend using this on anything that is going to see a lot of moisture or heavy use. Your chalk paint will have a hard finish to it, but it can be damaged. If you are covering kitchen cabinets, a kitchen table, or anything else that will regularly need scrubbed you should plan to use something heavy duty to protect it! Alternately you can use wax. There are alot of options here. Minwax is fairly popular, and most of the chalk paint companies have their own brands of wax meant for chalk paint. Use those if you like. Most people love them, and they do exactly what you are hoping for. They protect your finish, and they add a beautiful luster and depth to the paint. With that said, most of them have a horrid smell and are toxic. They need to be used outdoors, or in a very well-ventilated area. I don't like the idea of using a product that has a poison label on it with my children around, so I googled a solution.
Homemade Beeswax Wood Polish. You can find it here:
http://www.amberdusick.com/woodmouse_loves_crafts/2010/07/how-to-make-beeswax-wood-polish-woodmouse-recipe.html
I use coconut oil for mine, but there are many options. It is easy to make, has no fumes, no harmful ingredients, and my children can not only stand the smell, but they can even help wax! I am not telling you to not use the popular brands. They have their uses and their purposes, and are great at what they do, but . . . I am saying that if you, like me, want a different option, there is one and I love it!
I hope that this has helped a little. Here are a few points to remember:
Almost any chalky substance can make chalk paint. I have even seen cornstarch used! Mix with a little water, make it approximately as smooth as thin pancake batter, and then add to your paint.
Each "chalk" has it's own mix ratio. Experiment to find what works for you and for the finish you are going for. Don't get stuck to just one and don't be afraid to try new things!
Chalk paint is known for it's ability to stick well to most surfaces with little prep. You don't have to sand most pieces. With that said, if it is a high-gloss surface it doesn't hurt to hit it with a little fine-grit paper to be sure.
Your paint should cure and reach its maximum strength within a couple of weeks. Be careful with your project until then This is not drying time. Chalk paint typically dries very quickly, but it takes a while to fully cure and get good and hard. You can distress a piece before it cures . . . just make sure to seal it and then to give it time to set before you put it through the vigor of daily hard-wear!
If your paint is peeling, chipping badly, or not distressing properly: You either don't have enough "chalk" in your paint to begin with or you are not letting it fully dry before distressing. Check your paint and try adding a bit more Plaster of Paris (or whatever you are using) and if that doesn't help, let a little more time pass between coats and before distressing. As hard as it is, be patient. The finished piece will be worth the time!
Lastly: I am far from expert. I am not the be-all end-all of chalk painting and I am fairly new to the process. This is my experience so far, and I am sharing it because it may help you on the road to making your own discoveries!
So long and happy chalking!
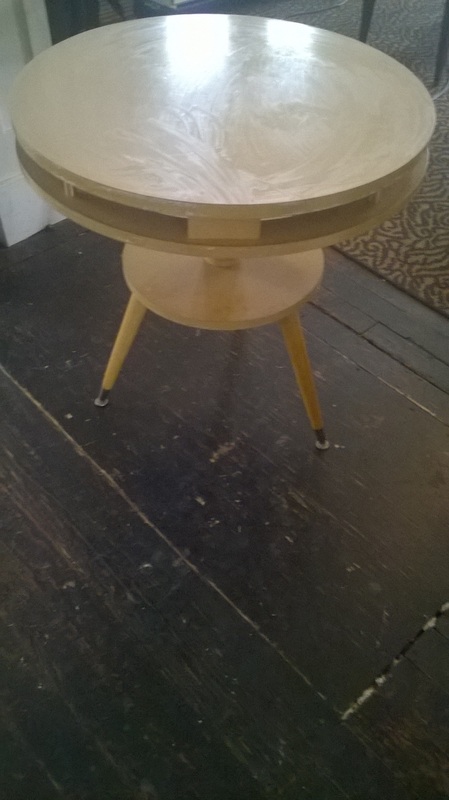
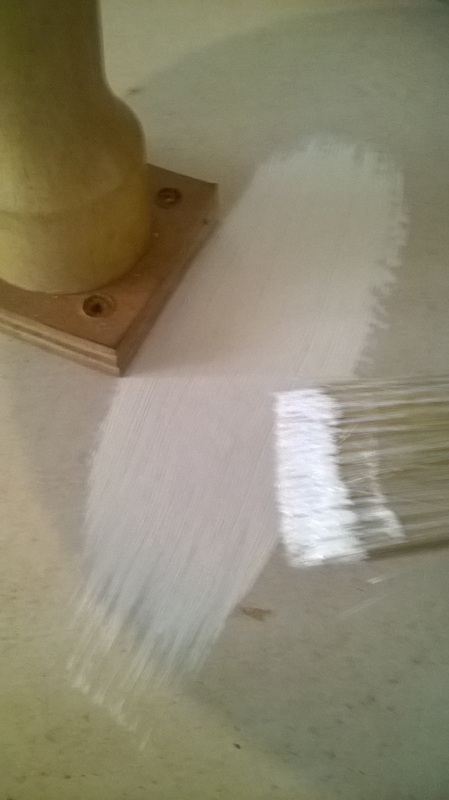
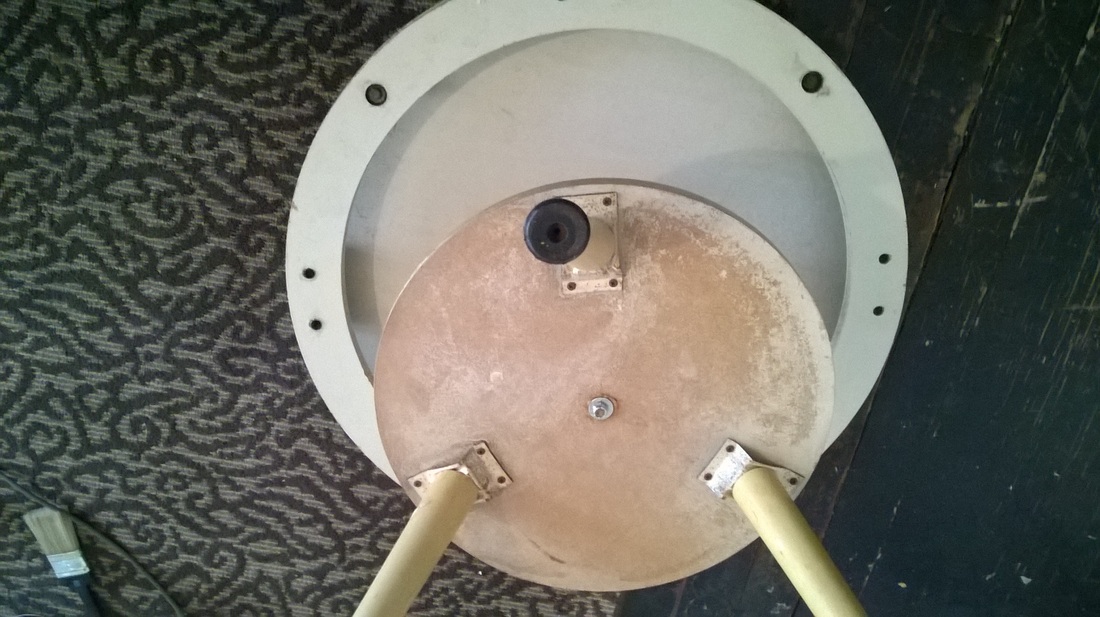
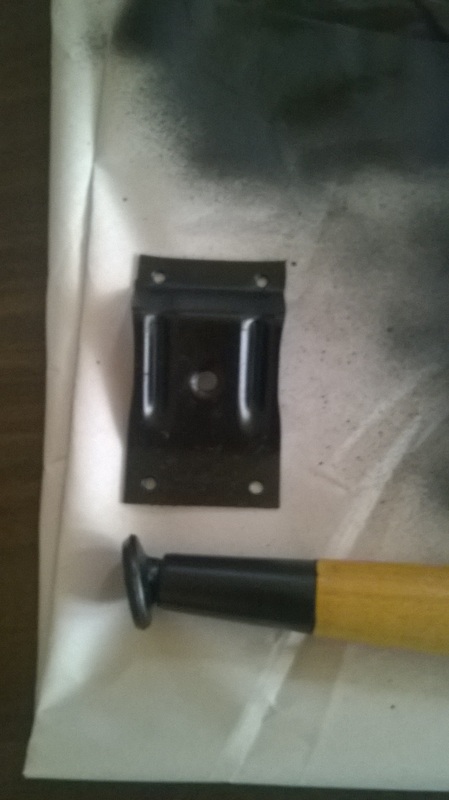
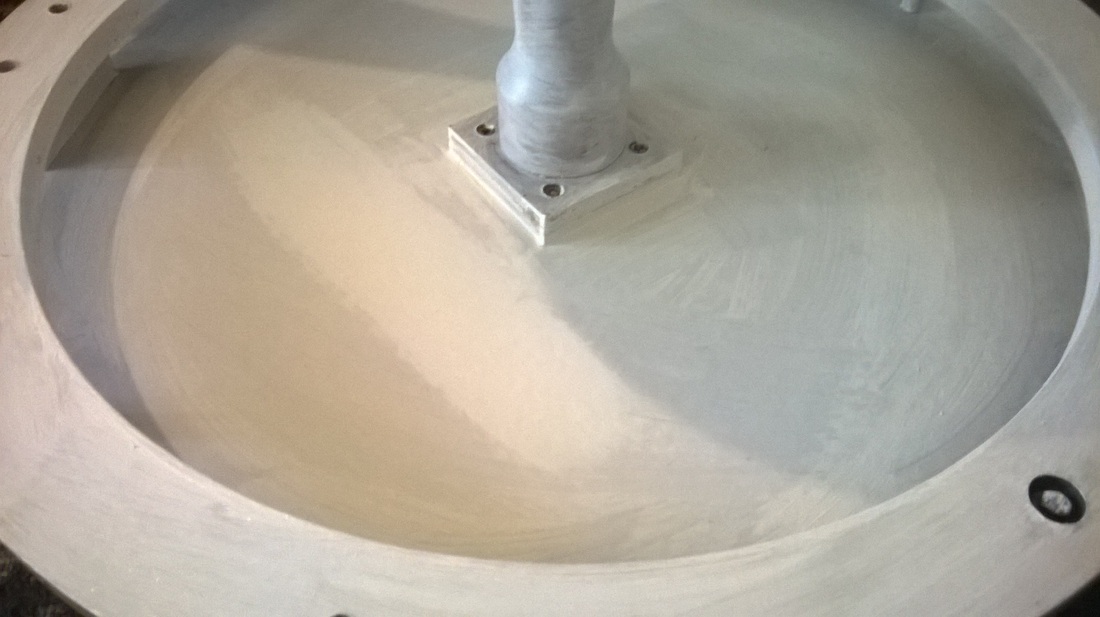
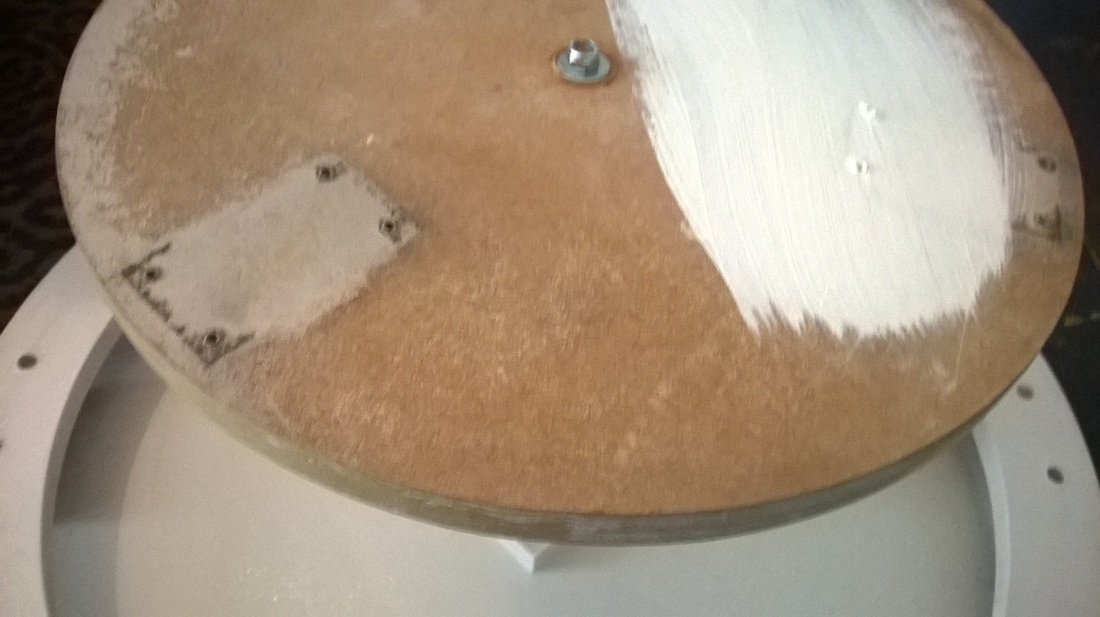
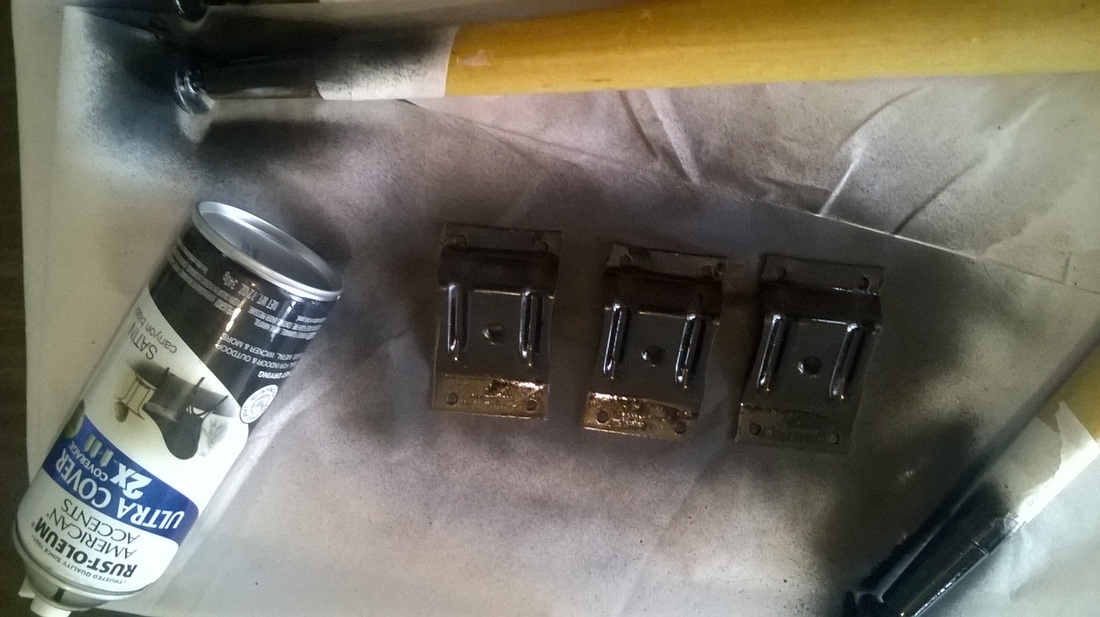
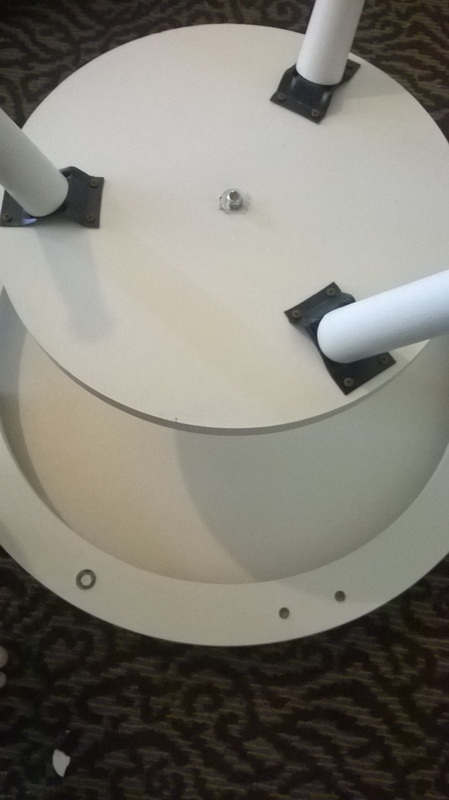
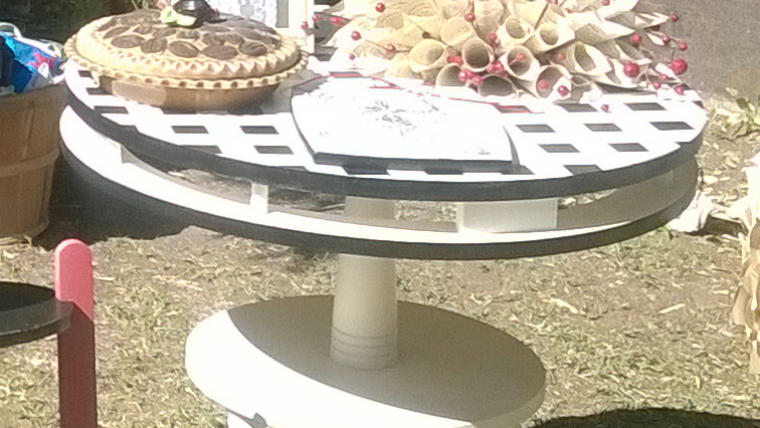
A few things I have painted with my Plaster of Paris chalk paint:
1) make sure you have the paint mixed very well. You don't want clumps in your paint. When you go to sand it later you will be left with white speckles all over everything, so make sure you are mixing very well! Even with great mixing I am often left with little sand-like particles. See the next steps for my removal tricks:
2) Sandpaper. Use a fine grit (200 or so) and just rub lightly over the surface. This will remove the gritty feel and leave you a beautiful surface to work with. It does take time and patience, so be prepared for that.
3) Damp scrubby sponge. I do not mean wet!!! Take a kitchen sponge, get it wet, and then squeeze the crud out of it!!! Make sure it is barely wet at all, and then lightly scrub the surface of your paint with the scrubby side. I use the blue sponges for this (the non-scratch ones). I LOVE the way this makes the piece look in the end. It is very smooth and has a beautiful finish, but be warned: You must be careful using this method. If you get the paint too wet it gets sticky and can peel off! Also: this is a method used to distress furniture. If you don't want to distress it be very careful not to push too hard. You only want to rub hard enough to keep the sponge moving. If you do push a little too hard don't fret. Let the paint dry again completely, sand a tiny bit with fine grit paper and re-paint.
Just remember: you can do this. I advise practicing first on scrap wood. It lets you perfect your technique and get used to using your homemade chalk paint. It also gives you a medium to practice your distressing without the worry of having to over-work your intended project!
To distress there are a lot of options: You can use sandpaper, a damp rag or sponge, steel wool, or pretty much anything you want to get the look you are going for. Be creative and don't be afraid to try new things.
The last thing I will cover today is finishing your piece. This is very important. You need to protect your surface. If you are going to spend the time painting and making something look nice you want it to stay that way, right? You have a few options: You can Polyeurathane. I don't care for this option. I don't like the shine on the finish, I don't like the smell, and I don't like the price. You can use it though, and, as much as I hate to say so, I recommend using this on anything that is going to see a lot of moisture or heavy use. Your chalk paint will have a hard finish to it, but it can be damaged. If you are covering kitchen cabinets, a kitchen table, or anything else that will regularly need scrubbed you should plan to use something heavy duty to protect it! Alternately you can use wax. There are alot of options here. Minwax is fairly popular, and most of the chalk paint companies have their own brands of wax meant for chalk paint. Use those if you like. Most people love them, and they do exactly what you are hoping for. They protect your finish, and they add a beautiful luster and depth to the paint. With that said, most of them have a horrid smell and are toxic. They need to be used outdoors, or in a very well-ventilated area. I don't like the idea of using a product that has a poison label on it with my children around, so I googled a solution.
Homemade Beeswax Wood Polish. You can find it here:
http://www.amberdusick.com/woodmouse_loves_crafts/2010/07/how-to-make-beeswax-wood-polish-woodmouse-recipe.html
I use coconut oil for mine, but there are many options. It is easy to make, has no fumes, no harmful ingredients, and my children can not only stand the smell, but they can even help wax! I am not telling you to not use the popular brands. They have their uses and their purposes, and are great at what they do, but . . . I am saying that if you, like me, want a different option, there is one and I love it!
I hope that this has helped a little. Here are a few points to remember:
Almost any chalky substance can make chalk paint. I have even seen cornstarch used! Mix with a little water, make it approximately as smooth as thin pancake batter, and then add to your paint.
Each "chalk" has it's own mix ratio. Experiment to find what works for you and for the finish you are going for. Don't get stuck to just one and don't be afraid to try new things!
Chalk paint is known for it's ability to stick well to most surfaces with little prep. You don't have to sand most pieces. With that said, if it is a high-gloss surface it doesn't hurt to hit it with a little fine-grit paper to be sure.
Your paint should cure and reach its maximum strength within a couple of weeks. Be careful with your project until then This is not drying time. Chalk paint typically dries very quickly, but it takes a while to fully cure and get good and hard. You can distress a piece before it cures . . . just make sure to seal it and then to give it time to set before you put it through the vigor of daily hard-wear!
If your paint is peeling, chipping badly, or not distressing properly: You either don't have enough "chalk" in your paint to begin with or you are not letting it fully dry before distressing. Check your paint and try adding a bit more Plaster of Paris (or whatever you are using) and if that doesn't help, let a little more time pass between coats and before distressing. As hard as it is, be patient. The finished piece will be worth the time!
Lastly: I am far from expert. I am not the be-all end-all of chalk painting and I am fairly new to the process. This is my experience so far, and I am sharing it because it may help you on the road to making your own discoveries!
So long and happy chalking!
A few things I have painted with my Plaster of Paris chalk paint:
 RSS Feed
